Restoring vintage blacksmithing tools can be a rewarding and satisfying endeavor for both seasoned blacksmiths and beginners looking to delve into the world of metalworking. These tools hold a rich history and craftsmanship that deserves to be preserved and put back into use. Whether you have inherited a set of old blacksmithing tools or come across a rusty gem at a flea market, with the right techniques and care, you can bring these tools back to their former glory. In this article, we will explore the steps involved in restoring vintage blacksmithing tools, from cleaning and rust removal to sharpening and maintenance.
**Assessment and Cleaning**
Before diving into the restoration process, it is essential to assess the condition of the vintage blacksmithing tools. Inspect each tool for signs of rust, pitting, and wear. Remove any dirt, grime, and old grease using a wire brush or steel wool. For stubborn residues, a combination of vinegar and baking soda can work wonders in loosening them up. Once the tools are clean, wipe them down with a dry cloth to remove any remaining debris.
**Rust Removal**
Rust is the enemy of vintage blacksmithing tools, as it can compromise their integrity and functionality. To remove rust effectively, you can use a variety of methods, such as electrolysis, chemical rust removers, or good old-fashioned elbow grease. Electrolysis involves using a battery charger, a bucket of water, and washing soda to create a rust-removal solution that gently strips away rust without damaging the metal. Chemical rust removers are also effective but require following the manufacturer’s instructions carefully to ensure safe usage.
**Sharpening and Refurbishing**
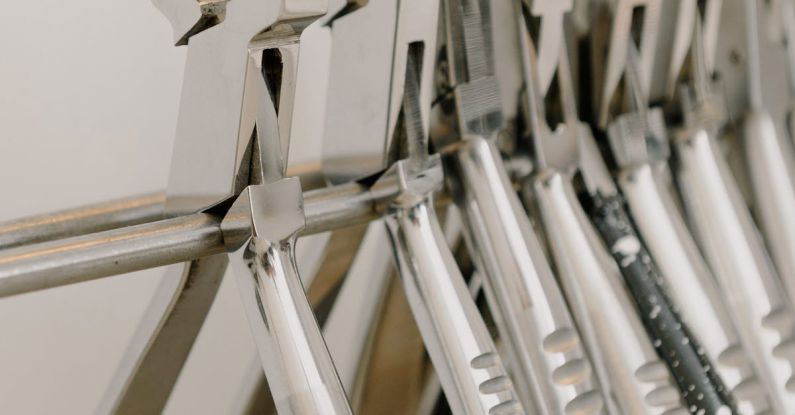
Once the rust has been removed, it’s time to focus on sharpening and refurbishing the vintage blacksmithing tools. For bladed tools like chisels, punches, and knives, invest in a quality sharpening stone or grinder to hone the edges to a razor-sharp finish. Take your time with this step, as a properly sharpened tool can make all the difference in your metalworking projects. Additionally, check for any loose handles or fittings that may need to be tightened or replaced to ensure the tool’s stability and safety.
**Applying Protective Coating**
To prevent future rust and corrosion, consider applying a protective coating to your restored vintage blacksmithing tools. Beeswax, linseed oil, or a commercial metal protectant can help create a barrier between the metal and moisture, keeping your tools in top condition for years to come. Apply the coating evenly and follow the manufacturer’s recommendations for drying and curing times.
**Storage and Maintenance**
Proper storage and maintenance are key to preserving the longevity of your restored vintage blacksmithing tools. Store them in a dry environment away from moisture and humidity to prevent rust from forming again. Regularly inspect and clean your tools after each use, removing any debris or buildup that could compromise their performance. Additionally, consider investing in a tool chest or organizer to keep your tools organized and easily accessible for your next project.
**In Conclusion**
Restoring vintage blacksmithing tools is a labor of love that pays homage to the craftsmanship of the past while equipping you with quality tools for your metalworking endeavors. By following these steps and dedicating time and care to each tool, you can breathe new life into these pieces of history and carry on the tradition of blacksmithing for generations to come. So roll up your sleeves, grab your tools, and embark on the journey of restoring and revitalizing vintage blacksmithing tools—it’s a journey worth taking.