Soldering metal jewelry pieces is a fundamental skill that every jewelry maker should master. Whether you are a beginner or a seasoned crafter, the art of soldering allows you to create intricate and unique designs by joining metal components together. With the right tools and techniques, you can achieve clean and professional-looking solder joints that will enhance the beauty and durability of your jewelry pieces. In this guide, we will walk you through the step-by-step process of soldering metal jewelry pieces like a pro.
Preparing Your Workspace
Before you start soldering, it is essential to set up your workspace properly to ensure a safe and efficient working environment. Make sure you have good ventilation to prevent inhaling harmful fumes produced during the soldering process. Clear your work area of any clutter and ensure that you have all the necessary tools and materials within reach. It is also recommended to wear safety goggles and heat-resistant gloves to protect yourself from potential burns or injuries.
Choosing the Right Solder and Flux
Selecting the appropriate solder and flux is crucial for achieving strong and clean solder joints. Solder comes in various forms, such as wire, sheet, or paste, and is available in different metal compositions, including silver, gold, and copper. Choose a solder that matches the metal composition of the pieces you are soldering for seamless integration. Flux is used to clean the metal surfaces and promote the flow of solder. Make sure to apply flux to the joints before soldering to ensure a strong bond between the metal pieces.
Preparing the Metal Surfaces
Properly preparing the metal surfaces is essential for successful soldering. Thoroughly clean the metal pieces you intend to solder to remove any dirt, oils, or oxidation that may hinder the soldering process. Use a metal file or sandpaper to roughen the surfaces that will be joined to ensure better adhesion. It is also helpful to use a pair of tweezers to hold the metal pieces in place during soldering, keeping your fingers safe from the heat of the torch.
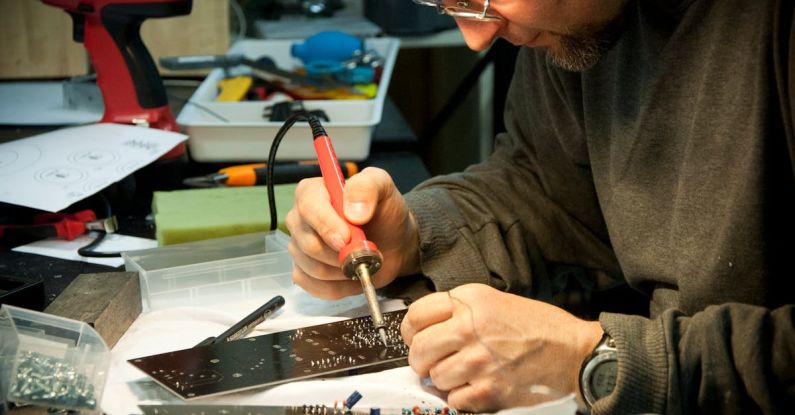
Applying Heat
Using a butane torch or a soldering iron, apply heat to the metal pieces to melt the solder and create a strong bond between them. Hold the torch at a slight angle to the metal surface and move it in a circular motion to evenly distribute the heat. Be cautious not to overheat the metal, as it can cause discoloration or damage to the jewelry pieces. Once the solder melts and flows into the joint, remove the heat source and allow the metal to cool naturally.
Cleaning and Polishing
After soldering, it is important to clean the metal pieces to remove any flux residue or oxidation that may have accumulated during the soldering process. Use a mixture of warm water and mild detergent to gently clean the soldered joints, then rinse thoroughly and pat dry with a soft cloth. To give your jewelry a professional finish, polish the soldered areas using a jewelry polishing cloth or a polishing compound to restore the shine and luster of the metal.
Final Thoughts
Mastering the art of soldering metal jewelry pieces requires practice, patience, and precision. By following the steps outlined in this guide and honing your soldering skills, you can create stunning and durable jewelry pieces that showcase your craftsmanship and creativity. Remember to always prioritize safety when working with hot tools and chemicals, and don’t be afraid to experiment with different techniques to achieve the desired results. With time and dedication, you will become a proficient soldering artist capable of crafting exquisite metal jewelry pieces that stand the test of time.